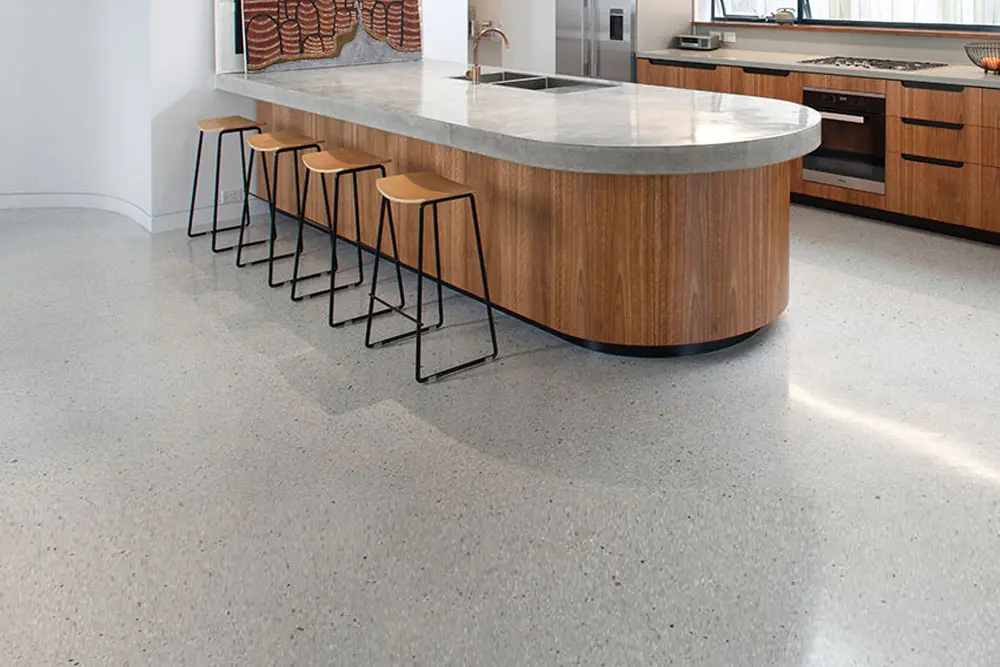
In this article we’ll talk about top tips to sealing a concrete floor. Concrete is great material that can provide a durable surface for a floor. Whether your concrete floor is in your living room, in the basement, or in the garage, it is porous, and you should seal it properly to increase its lifespan and prevent stains.
Using concrete flooring in your home can be an excellent choice. Especially if you’re interested in the durability of your floor. However, to make a concrete floor last it’s important to seal it properly since concrete is porous.
Sealing a concrete floor is an effective way to keep your floor free of stains from substances such as grease, oil, water, and others. As if that’s not enough, sealed floors look beautiful and are easier to clean.
To ensure that the sealer is effective, however, the application process has to be done properly. Everything you do, from surface preparation to picking the right application tool, will go a long way towards determining the final outcome.
Top Tips To Sealing A Concrete Floor
Cleaning the floor
To avoid inconvenience, you should remove the furniture and everything else from the room. Keep in mind that you will need somewhere to store the items for no less than one week. Once the room is clear, sweep it thoroughly, and then proceed to clean any area that is still dirty.
You can use mineral spirits to clean grease spills. Once the floor looks clean, use a concrete cleaner to ready the floor for sealing. Rinse the cleaner off, and then wait for the floor to dry. At this point, you can use a concrete repair caulk to fill any visible cracks. Then finally, wait until the caulking has dried completely.
Removing the old sealer
If the floor had an old sealant, you have to wait before applying the new sealant. If you’re not sure whether a sealant was used on your floor or not, you can use water to test this. To do this pour approximately one cup of water on the concrete.
If the water does not soak into the floor but instead beads up and remains on the surface, the floor had been sealed. If the floor had not been sealed, the water would soak into the floor. To remove the sealant, you can use a chemical stripper.
Since chemical strippers are acid-based, be sure to protect yourself when removing the sealant. After removing the sealant, you’ll have to let the floor dry for at least 24 hours before proceeding.
Despite being more durable compared to acrylic sealers, this type of sealer also sits on top of the concrete. Epoxy sealers protect your floor effectively against grease stains, but they are difficult to apply. They are also available in various colors enabling you to change the look of your floor.
Try polyurethane sealers for a durable finish you can use over other seals. These are more durable than epoxy and have UV protection, as well, which means they won’t turn yellow over time like acrylic or epoxy might. They do sit on top of the concrete like acrylic and epoxy, but because this seal tends to be thin, it’s often used as a top coat over epoxy.
- Polyurethane also comes in matte, semi-gloss, and glossy finishes.
- To check the concrete to see if it has a seal already, pour a little water on it. If it beads up, it already has a seal on it. Polyurethane sealers will go over most other sealers, but if you’re not sure what to pick, ask at your local hardware store
Paint the sealer on the concrete
Paint the sealer on the concrete with a paint pad or rolling brush. Pour the sealer into a painting tray. Dip the paint pad or rolling brush with an extension into the sealer, rolling it on evenly. Slide the paint pad or rolling brush along the edge you just painted. Keep going across the floor, adding more sealer as needed.
- Always keep a wet edge as you move across the area. If you let the edge dry, it won’t blend into the next area of sealer you apply.
- Any roller or paint pad meant for painting should be fine.
Apply a single, even layer across the floor
As you work, move across the room, completing one quarter at a time. Make sure the sealer doesn’t puddle in any place by going over any low areas a few times to spread it out. Be careful to cover the whole floor so you don’t have patches without sealer.

